

How To Change A Color In Photoshop To Another Color
This Photoshop Color Replacement tutorial, shows how to change the colors in a photo, or parts of a photo. It's really like shooting fish in a barrel to alter colors and the big heros are Hue/Saturation and color alloy mode. This tutorials shows how to supersede individual colors likewise as how to get nice looking color looks on your images. Check out the video for step by step details and and so see the written steps for reference.
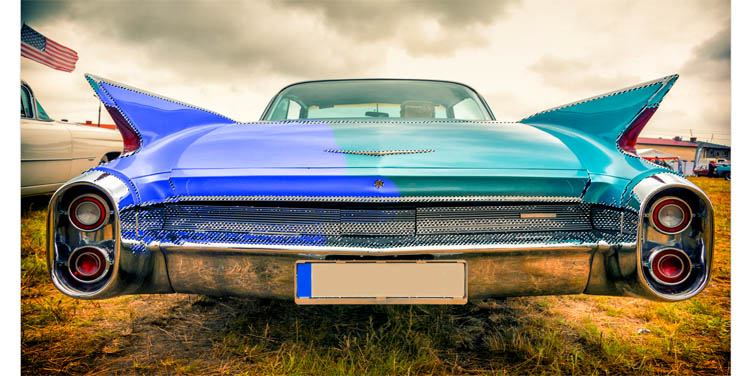
one. Partial Color Change in Photoshop
This technique will alter the color, but we will alloy the color change gradually.
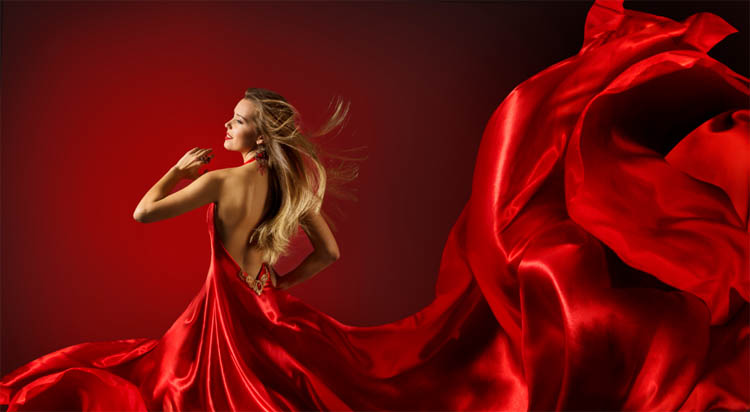
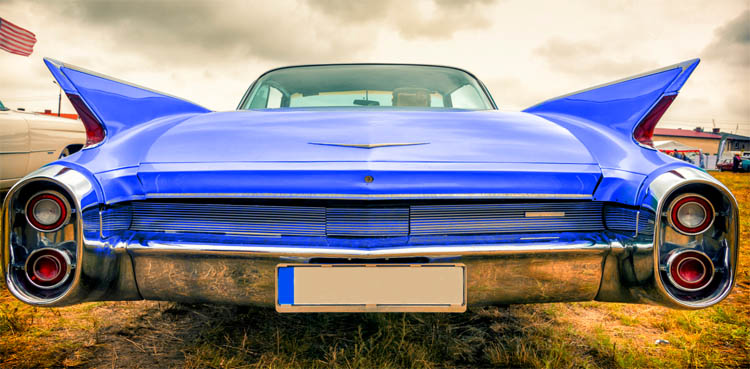
Start with a photograph (This is from Adobe Stock, like all the images in this tutorial).
Step 1.
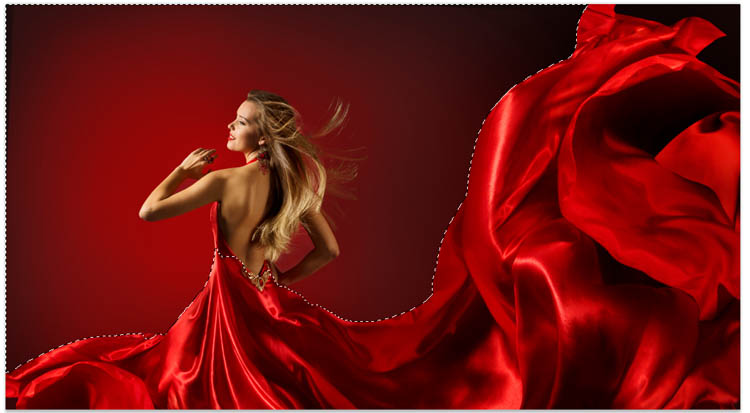
Choose the Quick Selection tool
![]()
Brand a selection around the more solid groundwork.
Printing Ctrl/Cmd+Shift+I to inverse the selection, then merely the dress is now selected. Don't worry about the person we aren't changing that part of the photo.
Stride 2.
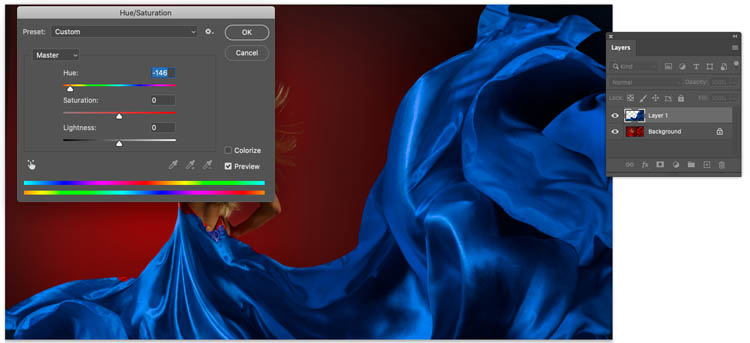
Printing Cmd/Ctrl+J to copy option to a new layer.

Stride iii. Changing the color
Printing Cmd/Ctrl+U for hue saturation.
Move the hue slider to modify the color, until you get a color yous like.
Step four. Blending the color
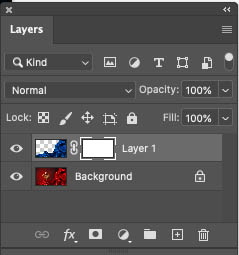
Add a new layer mask in the layers console. (Click the add layer mask button to the right of fx)
Step5.
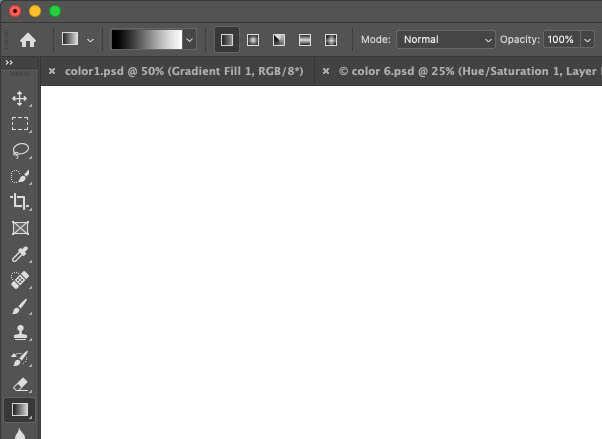
Choose the gradient tool
Make certain it's prepare to foreground to background, and linear. Normal mode and 100%opacity.
Step half-dozen.
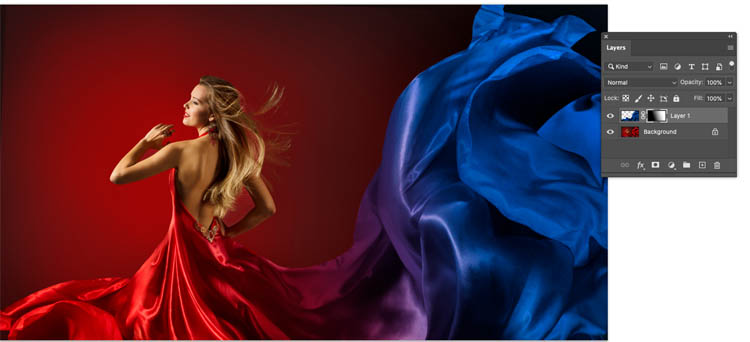
With the mask selected, drag the gradient horizontally through the paradigm and y'all will se a nice seamless blend (this is demonstrated in the video if this is difficult to grasp).
I similar how the blue and red get purple where they are blending.
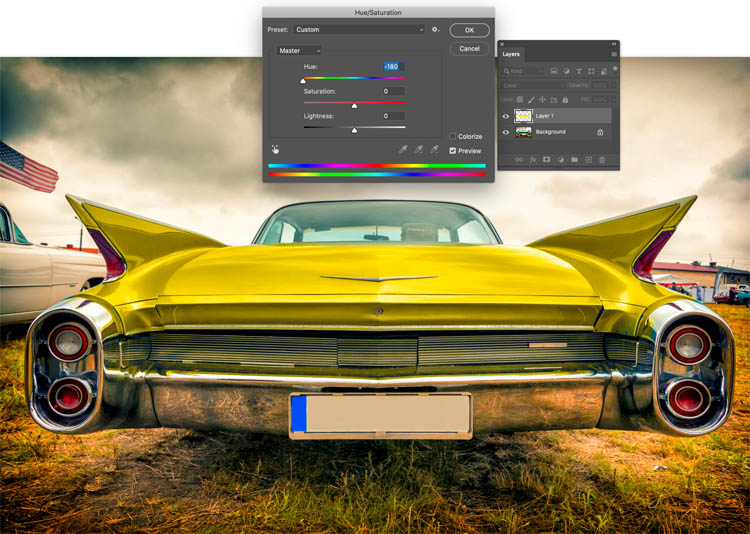
2. Changing background colour in Photoshop
Ofttimes we want to change a groundwork color and some people waste matter lots of time, trying to make unnecessary selections (I used todo this a long time ago).

Stride i.
Brand a hue/Saturation Aligning layer

Footstep 2.
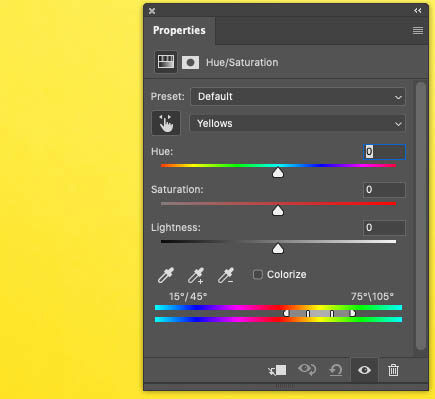
Open up the backdrop console and click the finger under preset.
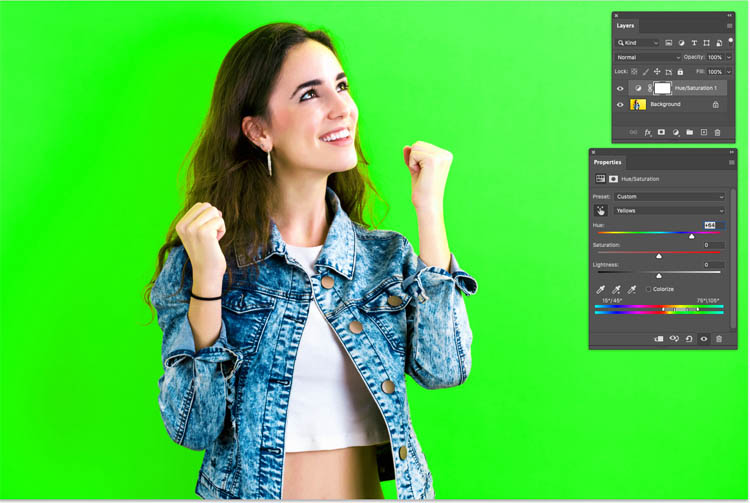
Click on the yellow color. You will see in the gradient, that some sliders have appeared effectually the yellow tones, nosotros accept isolated yellowish.
(Or just cull yellows from the drop down, just not quite as accurate)
Step iii
Move the hue slider and notice that only the yellows are changing.
Make it any colour you want. That's clutch, right? No selections needed.
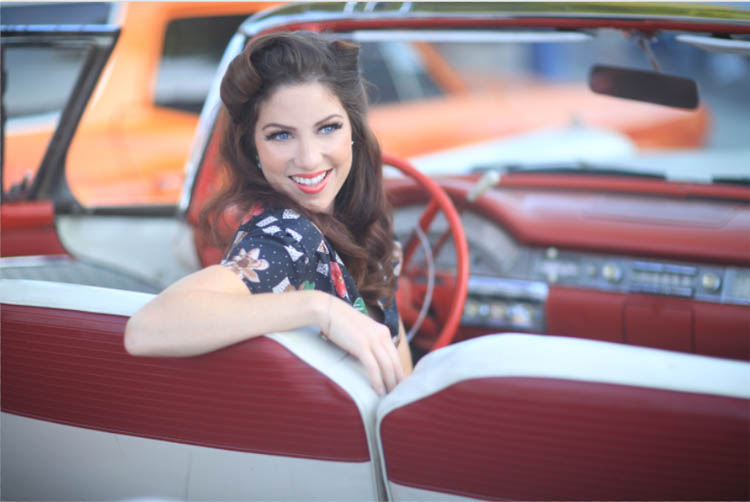
3. Irresolute the colour of an object in a photo in Photoshop (changing clothing color)
How often practise we need to change the colour of vesture? Its a cinch with this method.
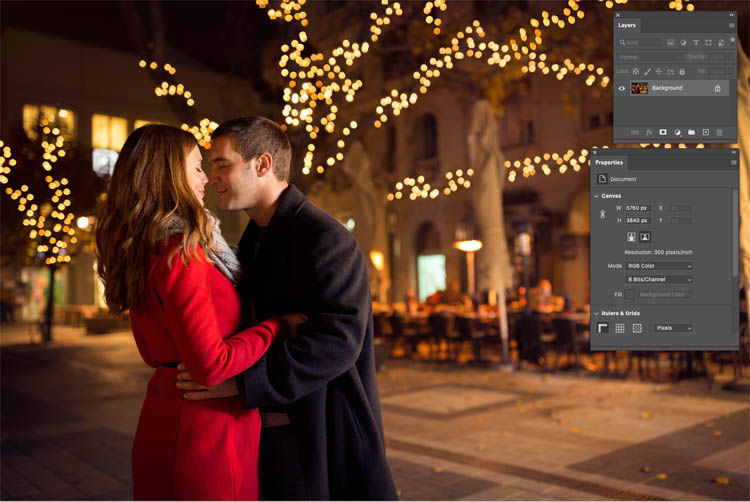
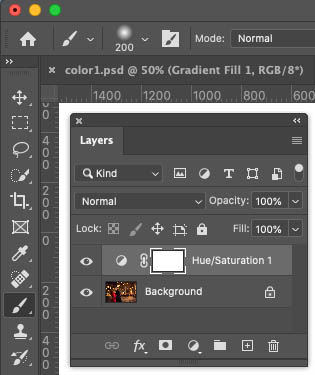
Pace 1.
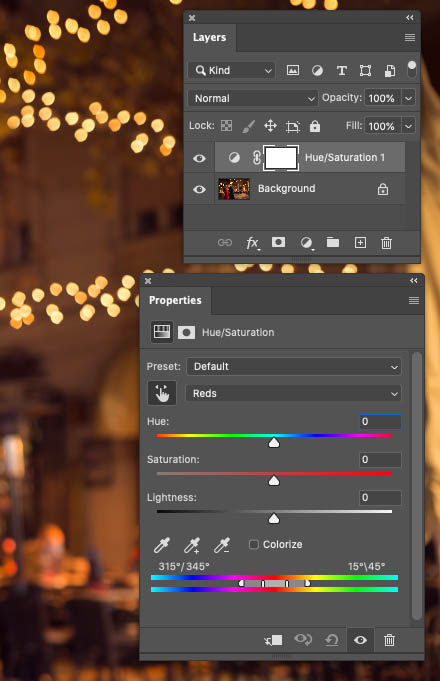
Make a hue saturation Adjustment layer.
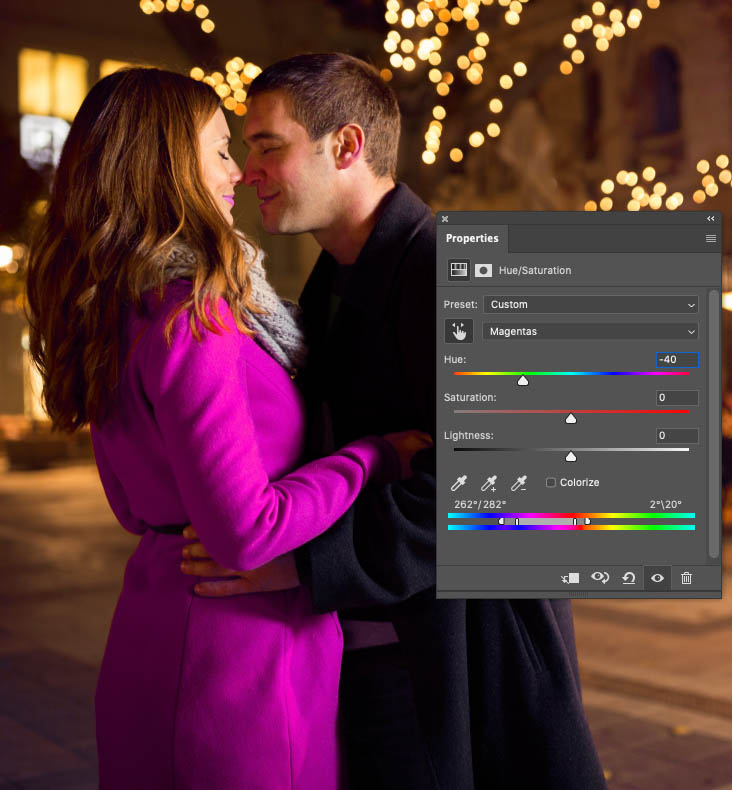
Click the finger and click on the crimson coat to sample the colour.
Spoiler alert: this is merely like the previous technique, but shows y'all how to tighten upwards the color and fix areas that are changed that nosotros don't want to change.
Step 2.
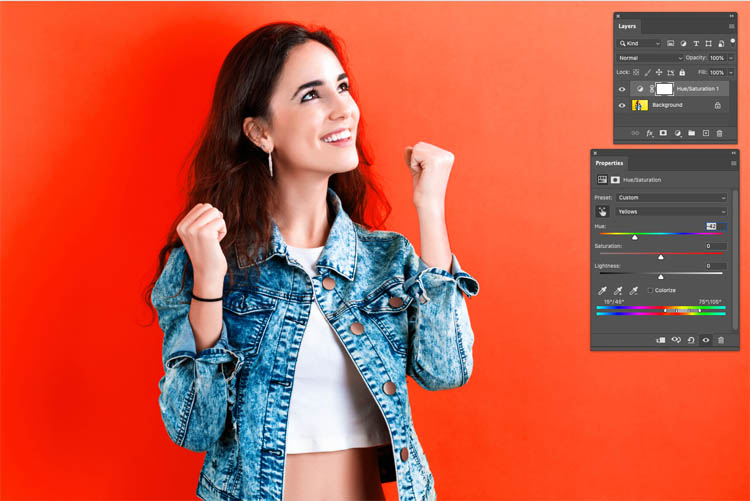
Motion the hue slider to make the glaze a different color, in this case we are irresolute red to a squeamish hot pink/magenta.
Notice that their hair and skin also changed colour, we don't want that.
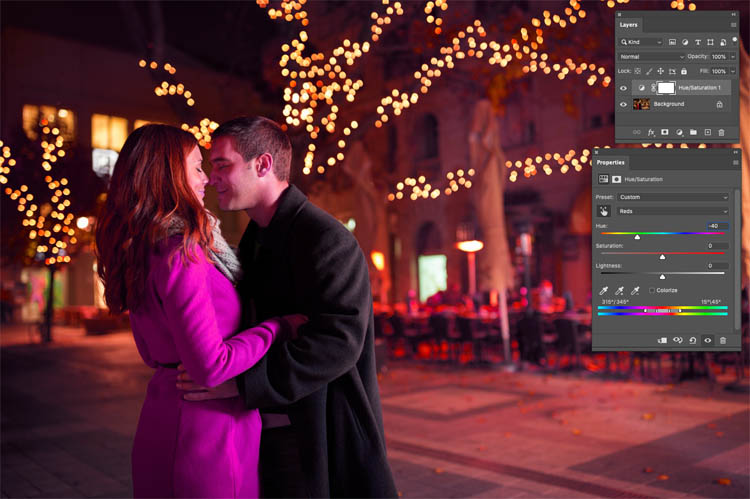
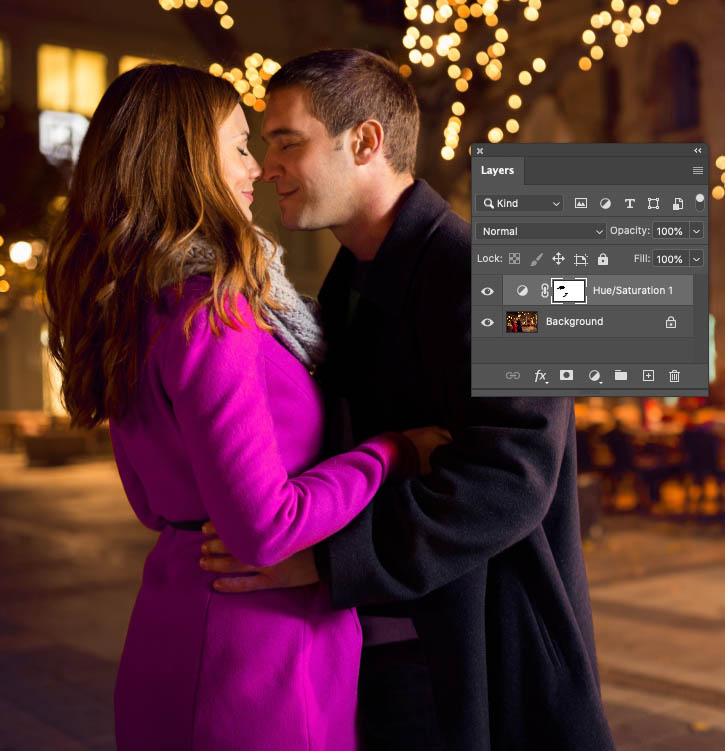
Step 3 refining the color selection
Motility the sliders in the gradient to refine the colour pick. Some things like her lips and reflections on their faces can't be fixed in this step, but it definitely looks a lot better.
Step four.
The Hue/Saturation has a layer mask that nosotros will use.
Choose a brush and set the foreground color swatch to black.
With the mask selected, paint out any of the areas that you want to restore to their original colors.
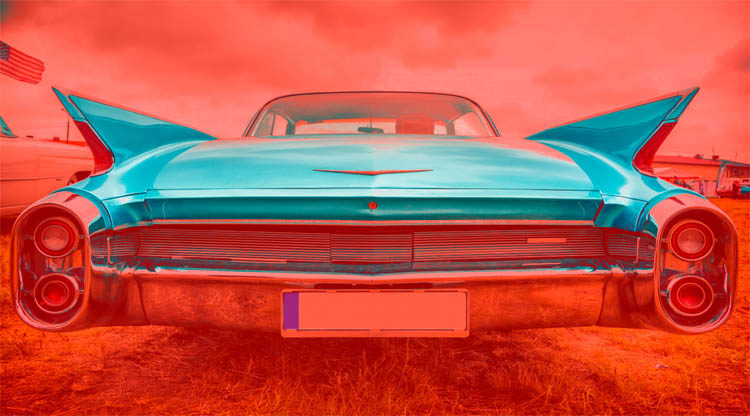
4. Painting in a new color in Photoshop (recolor a car)
Sometimes, you but want to paint in the colors by hand. You lot tin can utilize this tutorial to paint in the colors freehand, or apply selections to aid y'all.
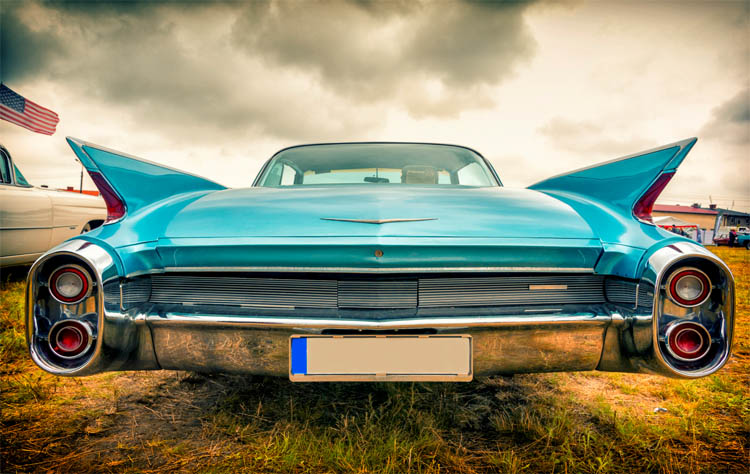
Step 1.
Im going to select the color of the car's paint to get in easier.
Cull Select > Colour range
With the eyedropper, click on the principal color.
Employ the eyedropper+ to add together to the color selection (How to employ Color Range)
Refine the selection with the fuzziness slider.
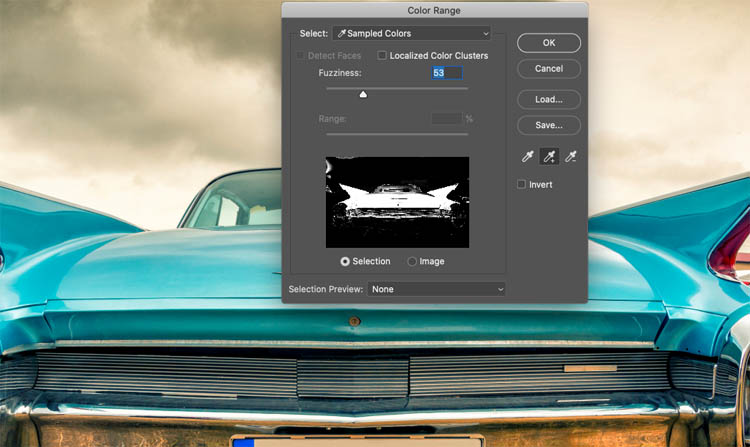
Click ok to see the marching ants selection. We demand to clean upwards a little bit.

Step 2.
Printing Q for Quick mask. You volition see a red overlay, indicating the selected areas.
Step 3.
Pigment with white to add to the selection, or black to subtract from the selection.
Pace 4.
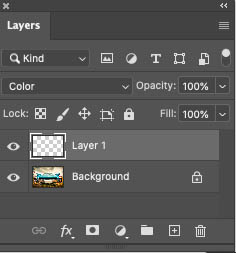
Create a new layer and change it to colour blend mode (click where it says "normal" and choose colour)
Step 5.
With the selection agile, choose a paint brush.
Click on the foreground color swatch to cull color.
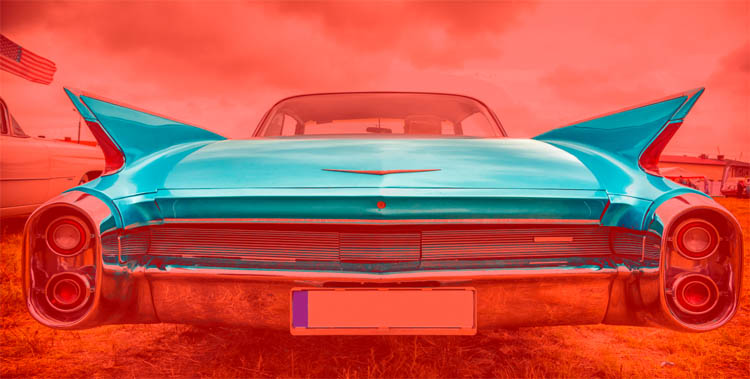
Start painting and notice that the tones don't change, merely the color. Yay colour blend mode.
Go along going until you accept painted the color.
The prissy thing near using Colour Range is that the reflections were as well selected and then it looks more realistic in the chrome when we change the color of them too.
Step six
You can also choose Hue/Saturation and change the hue of the new painted payer at any time, to instantly dial in different colors.
Ok, that'due south how modify the physical colors on the photos. Let's loos at some color effects.
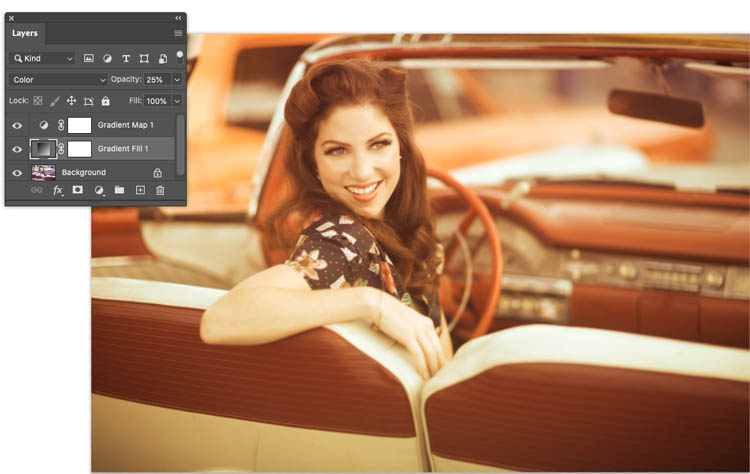
5. Adding color overlays and color grading in Photoshop
Pace 1.
Open the Gradients panel (Photoshop 2020 + only)
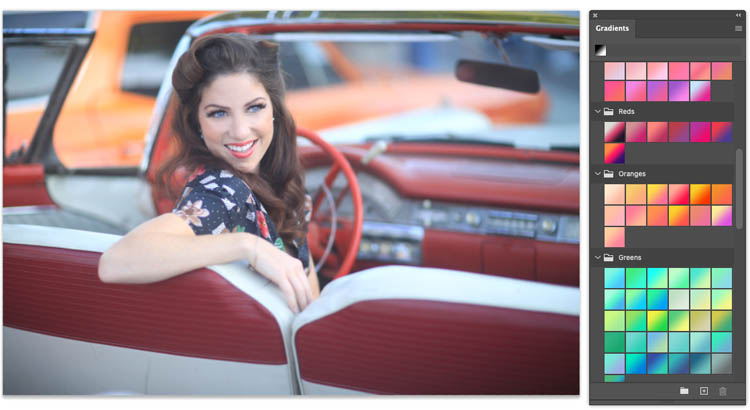
Drag a gradient onto the image.

Alter to Color blend style in the Layers Console and change the opacity to arrange.
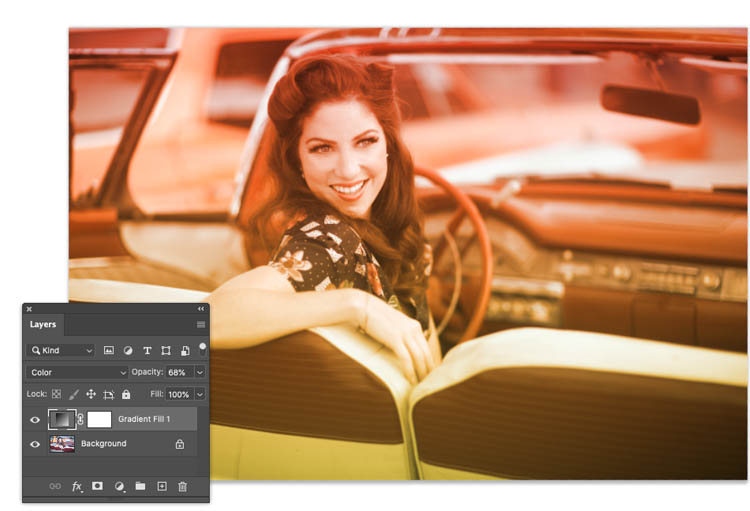
A lower opacity gives a more realistic result.

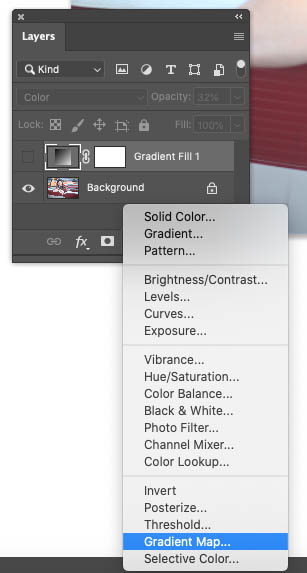
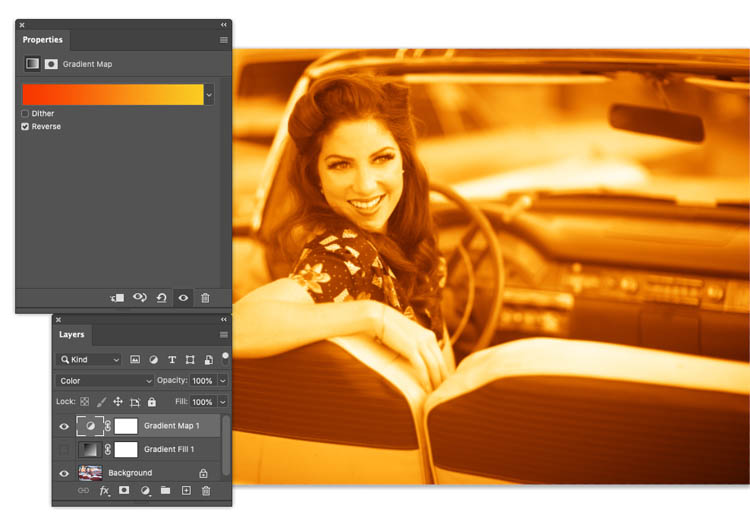
Step 2. Gradient Maps
Let's expect at slope maps, this gives a different event.
Choose A Gradient Map adjustment layer
Choose the same slope as before
The left of the slope (orange) is the shadows and right (Highlights) is scarlet.
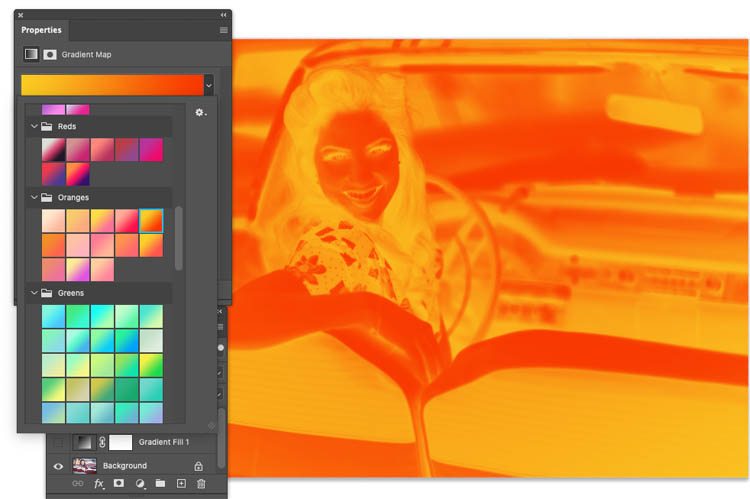
Change to color blend mode.

Click on reverse, so that orangish does into highlights and red into shadows, looks much improve already. Y'all always want the lighter colors in the highlights.
Lower the opacity and see how squeamish that looks.
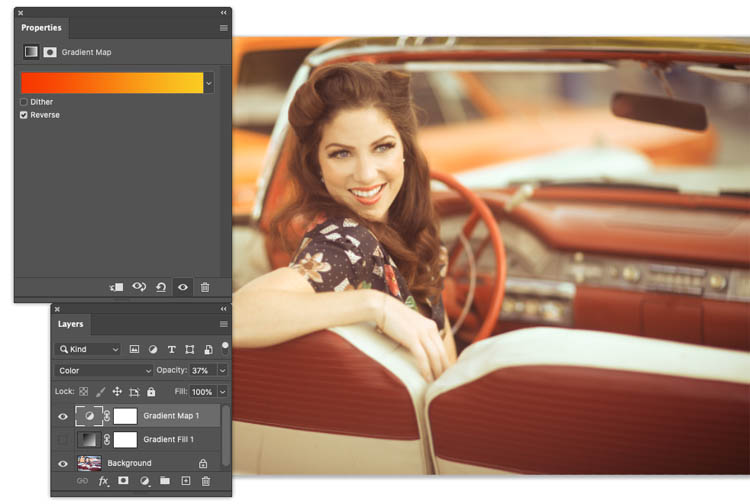
For extra punch, you lot tin can e'er combine the gradient map with the gradient overlay, don't forget to tweak the opacity on both adjustment layers though.
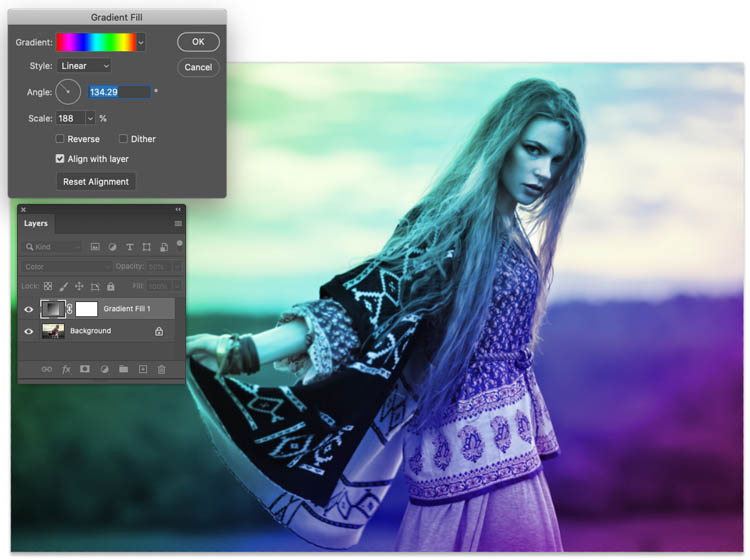
6. scaling gradients for a colour overlay result in photoshop
Here is a variation of the slope overlay. In this case, we use a gradient overlay adjustment layer instead of a direct gradient layer.
The advantage is being able to piece of cake calibration the layer and change its angle. Also try dragging on the gradient in the image while the Slope Fill box is open up. Pretty corking huh? {You lot can see this in activity in the video.)
Thanks for checking this out. I promise you learned some new things about working with color. If y'all did, subscribe and tell yous friends about PhotoshopCAFE! Spread the discussion 😉
Colin
I enjoy making these for you lot. As fourth dimension permits, I'll keep making i each week. Driblet a comment and let me know what you would love to learn in photoshop. Also don't forget to check out my premium tutorials, it'south what supports this website and enables me to do what I do,
PS Don't forget to join our mailing list and follow me on Social Media>
- Youtube.
(Ive been posting some fun Instagram and Facebook Stories lately)
You can go my free Layer Blending modes ebook here
Source: https://photoshopcafe.com/6-ways-change-colors-photoshop-photoshop-color-replacement-tutorial/
Posted by: hayesnothisper.blogspot.com
0 Response to "How To Change A Color In Photoshop To Another Color"
Post a Comment